Examples - Electronic Bricks - Electronic Brick 3D Accelerometer
Digital-In, Using the 3D Accelerometer Brick.
This program gives you a basic understanding how to use the 3D Accelerometer Electronic Brick.
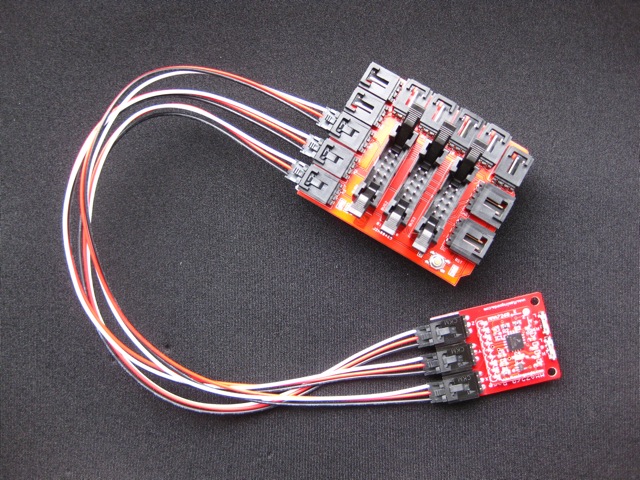
Hardware Setup:
Connect the X pin of the 3D Accelerometer Brick to pin 3 on the Seeduino Shield.
Connect the Y pin of the 3D Accelerometer Brick to pin 2 on the Seeduino Shield.
Connect the Z pin of the 3D Accelerometer Brick to pin 1 on the Seeduino Shield.
/*
MMA7260

Reads an Analog Device MMA7260 3D Accelerometer Brick and communicates the
acceleration to the computer.

Adapted 02.08.10 by Dino Rossi for the EmbeddedLab CAAD ETHZ

Original code from:
http://www.arduino.cc/en/Tutorial/ADXL3xx
created 2 Jul 2008
by David A. Mellis
modified 26 Jun 2009
by Tom Igoe

This example code is in the public domain.

*/

// these constants describe the pins. They won't change:
const int xpin = 3;                   // x-axis of the accelerometer
const int ypin = 2;                   // y-axis
const int zpin = 1;                   // z-axis (only on 3-axis models)

void setup()
{
        // initialize the serial communications:
        Serial.begin(9600);
}

void loop()
{
        // print the sensor values:
        Serial.print("x = ");
        Serial.print(analogRead(xpin));
        // print a tab between values:
        Serial.print("\t");
        Serial.print("y = ");
        Serial.print(analogRead(ypin));
        // print a tab between values:
        Serial.print("\t");
        Serial.print("z = ");
        Serial.print(analogRead(zpin));
        Serial.println();
        Serial.println();
        // delay before next reading:
        delay(500);
}
 |