Examples - Electronic Bricks - Electronic Brick LED
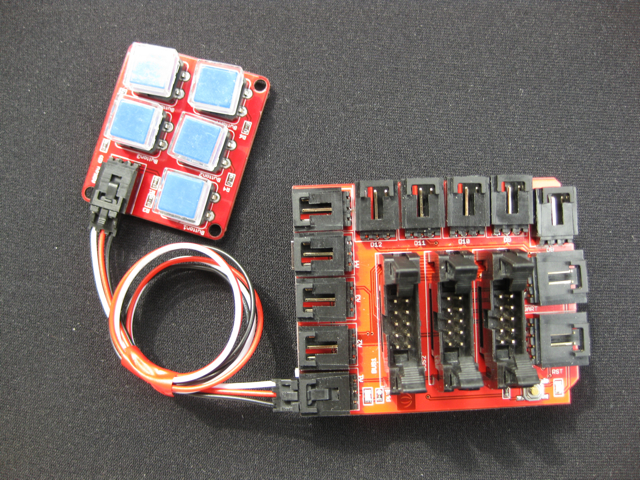
Get access to the Keypad Brick.
That program gives you a basic understanding of how to use the Keypad Electronic Brick. This enhances user input possibilities in your project. The trick here is that the keypad uses a resistor ladder. Connect the Brick to an analog input of the micro-controller. Every time you push a different button, the resistor value will change...
/*
Keypad Example
Example: How to use the '5 Button Keypad Electronic Brick'
Usage: Connect Brick to analog pin 1 on the Seeduino Shield
*/

int keyInputPin = 1;                        // Define the analog input pin for keypad
int keyPushed = 0;                          // Keypad button value
void setup()
{
        Serial.begin(9600);                     // Invoke Serial Interface for debugging purposes
}

void loop()
{
        int temp = analogRead(keyInputPin);        // Read the keypad

        // Detect which key was pressed by user
        if(temp ==  1023)
        {
                Serial.println("Key 1 Pressed");
        }
        else if(temp == 952 || temp == 951)
        {
                Serial.println("Key 2 Pressed");
        }
        else if(temp == 769 || temp == 770)
        {
                Serial.println("Key 3 Pressed");
        }
        else if(temp == 405)
        {
                Serial.println("Key 4 Pressed");
        }
        else if(temp == 176 || temp == 175)
        {
                Serial.println("Key 5 Pressed");
        }

        delay(250);
}
 |