Examples - Electronic Bricks - Electronic Brick Push Button
Digital In / Out - Get user input with the Push Button/ Touch Button/ Tilt Switch Electronic Bricks.
This program gives you a basic understanding how to use the Push Button Electronic Brick.
Lets try Digital signal first. The button or the digital sensor can be a digital input to
Arduino. Arduino can read these digital signals by the digital Pin (almost all the pin is suppose digital input). And also can write the digital signal out by these digital Pins.
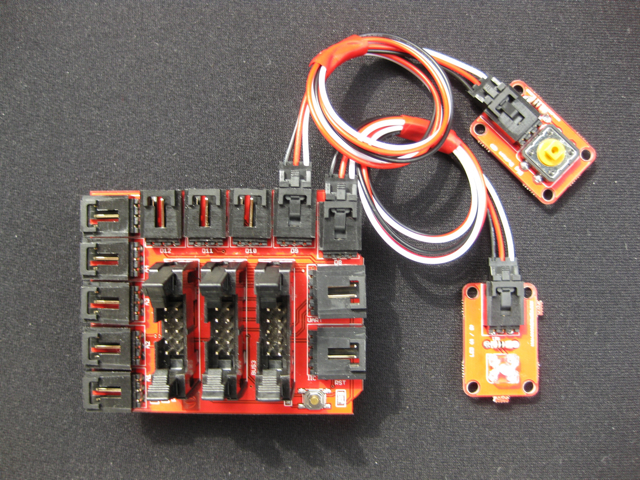
Hardware setup: Now we use a button to control the LED on or off. What we need is
an Arduino, an Electronic Brick chassis, a button brick, LED brick and two signal
cables. Hook up the button Brick to the D9 connector of chassis, then the button is
connected with the 9th digital pin of Arduino. And hook up the LED Brick to the D8
connector of chassis, then the LED is connected with the 8th digital pin of Arduino.
The hardware is set, and now we can open the Arduino IDE to prepare the sketch .
/*
PushButtonLED
Example: Digital input and output / interaction
Push the button and turn the led light on
*/


int Button = 9;                 //define the 9th digital pin for button brick
int LED = 8;                    //define the 8th digital pin for LED brick

void setup()
{
        pinMode(LED,OUTPUT);          //set the LED pin for digital output
        pinMode(Button,INPUT);        //set the Button pin for digital input
}

void loop()
{
        if (digitalRead(Button))      // if button press
        digitalWrite(LED,HIGH);       // light the LED
        else                          // if not press
        digitalWrite(LED,LOW);        // turn off the LED
}
 |