Examples - Electronic Bricks - Electronic Brick Universal Gas Brick
Analog In - Get gas level input with the Universal Gas Brick.
This program gives you a basic understanding how to use the Universal Gas Brick.
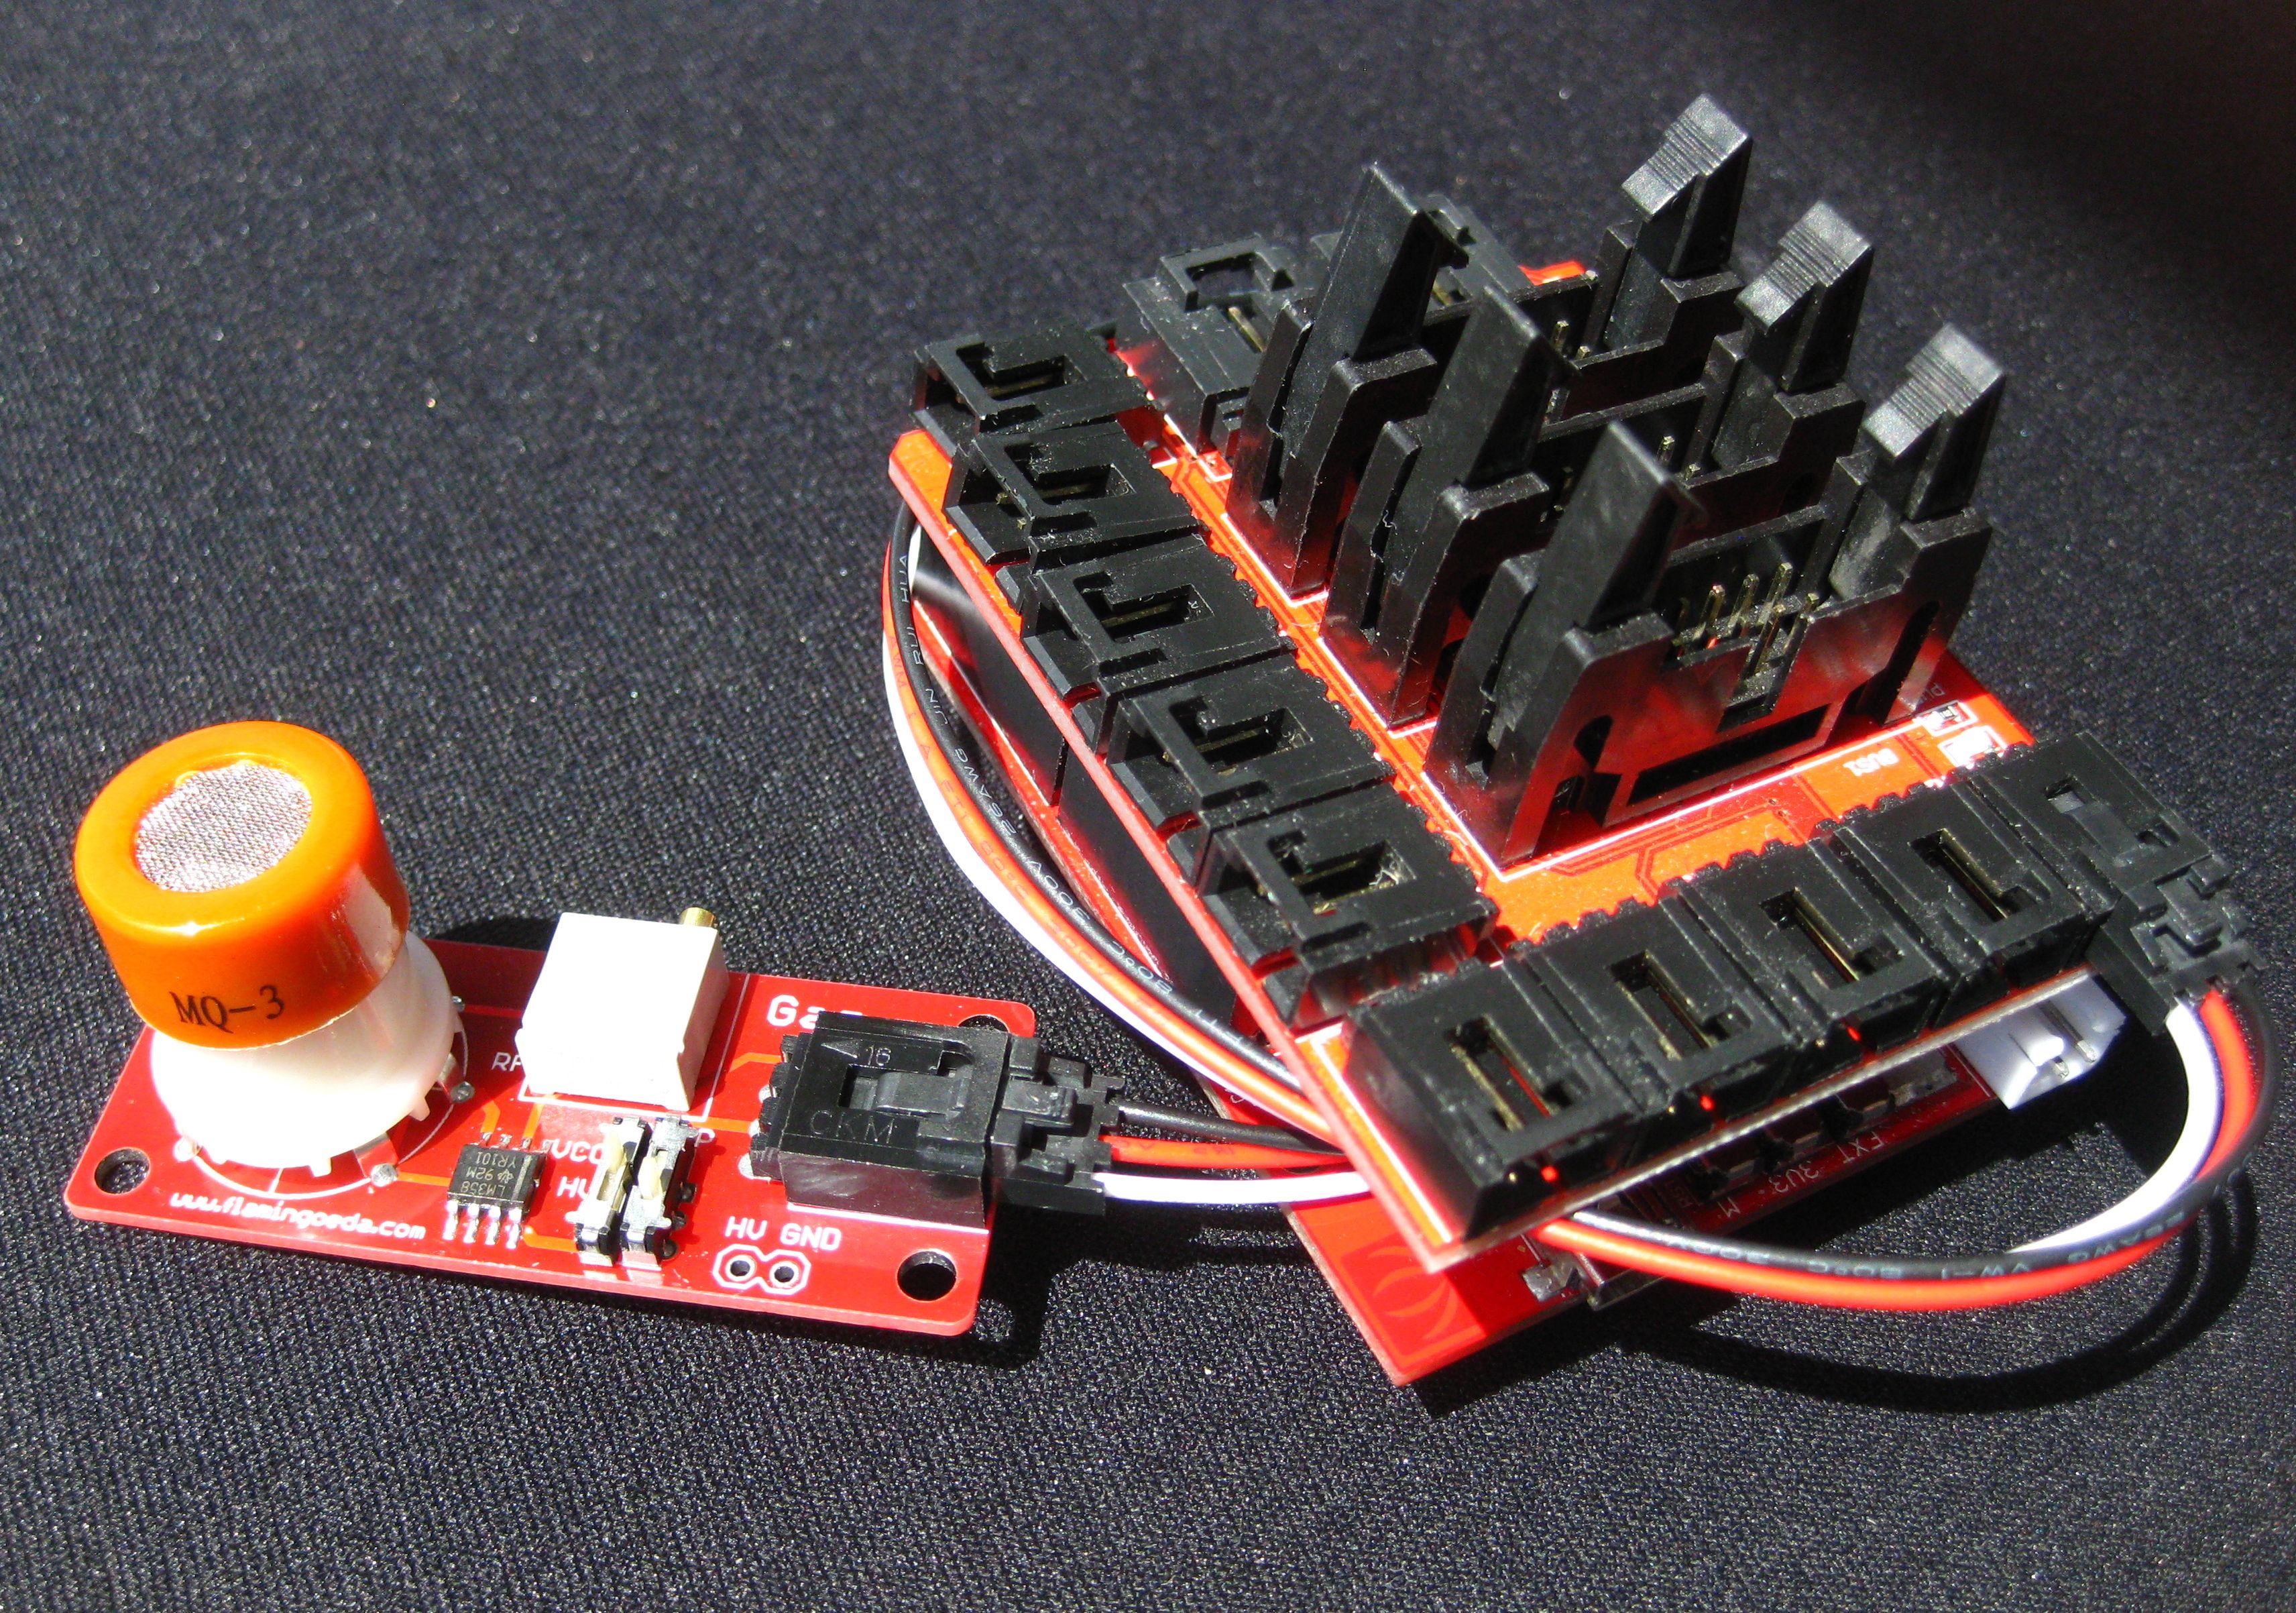
Step 1: Choose your gas sensor type and insert it into the Universal Gas Brick (we've had success with MQ-3, MG-811, MQ-131, MQ-135 gas sensors).
Step 2: Connect the Universal Gas Sensor brick to the Arduino board with a 3 wire cable to analog pin 1.
Step 3: Set the two switches on the Universal Gas Brick to the appropriate settings for the chosen sensor.
For a sensor which requires 5v and preheating, set the LEFT switch in the UP position(VCC) and the Right switch to UP position(HP).
For a sensor which requires 5v and no preheating, set the LEFT switch in the UP position(VCC) and the Right switch to DOWN position(HV).
For a sensor which requires 6v (for example the MG-811 CO2 sensor), set the LEFT switch in the DOWN position(HV) and the Right switch to DOWN position(HP), AND attach a 6v power source and ground to the HV and GND pads on the bottom right side of the brick.
Step 4: Copy/paste the code from below into your Arduino sketch and upload to the Arduino board.
Step 5: Run program and open the serial monitor to view readings from gas sensor.
Note: This code will return an analog value which needs to be converted to ppm (parts per million). This is different for each sensor and calibration is generally required.
/*
Universal Gas Brick
Example: Analog input of gas levels with various gas sensors
*/


int sensorGAS = 1;

void setup()
{
        Serial.begin(9600);
}


void loop()
{
        int sensorValue = analogRead(sensorGAS);
        Serial.println(sensorValue);
        delay(1000);
}
 |